How replacing your garage door delivers significant retrun on investment
2026-09-01
Garage Door Won't Close? Here's How to Figure Out Why
A garage door that won't close is one of the more frustrating problems a homeowner can run into — especially at night, when you're ready to go inside and the door just won't cooperate. The good news is that several of the most common causes are things you can diagnose and fix yourself in a few minutes. Others require a technician. This guide helps you figure out which situation you're in.
Work through these in order. Start with the simplest possibilities before assuming something major is wrong.
Step 1 — Check the Photo Eyes
This is the first thing to check every time, because it's the most common reason a garage door refuses to close and the easiest to fix.
Your opener has two small sensors mounted near the floor on either side of the door opening — one on each side, about four to six inches off the ground. One sensor sends an invisible infrared beam across the doorway, the other receives it. When something breaks that beam while the door is closing, the opener stops and reverses. This is a safety feature, and it works exactly as intended.
The problem is that the sensors can be triggered by things other than a person or object in the doorway.
Check for obstructions first. Walk the bottom of both tracks and look for anything that might be blocking the beam — a garden tool leaning against the wall, a ball that rolled into the corner, a leaf or piece of debris sitting directly in the sensor's path. Even a spider web stretched across the beam can cause intermittent closing failures.
Check the sensor lenses. Dirt, dust, and grime build up on the small lenses over time and can weaken or interrupt the beam. Wipe each lens gently with a clean, dry cloth and try closing the door again.
Check the alignment. Each sensor has a small indicator light — typically green on the receiving sensor and amber or red on the sending sensor. Both lights should be solid, not blinking. If one is blinking or off entirely, the sensors are out of alignment with each other. Loosen the wing nut or mounting bracket on the affected sensor, move it slowly until the light goes solid, then tighten it back down. The beam needs to travel in a straight, unobstructed line directly from one sensor to the other.
Check for direct sunlight. In the late afternoon when the sun is low in the sky and shining directly into the garage opening, it can temporarily blind the receiving sensor. If your door only refuses to close at certain times of day on sunny afternoons, this is almost certainly the cause. A simple fix is taping a small cardboard shade over the receiving sensor to block the direct sunlight without interrupting the beam.
If your sensors have solid indicator lights, nothing is obstructing the beam, and the door still won't close — move on.
Step 2 — Check the Travel Limit Settings
Every garage door opener has travel limit settings that tell it how far to move the door in each direction before stopping. The down limit tells the opener where the floor is — when the door has traveled that far, it stops.
If the down limit is set too far, the opener thinks the floor is lower than it actually is. When the door contacts the ground and stops, the opener interprets this as hitting an obstruction and reverses — the same response it would have if something were in the way. The result is a door that closes most of the way and then bounces back up.
Travel limits are adjusted using a screw or dial on the motor unit, usually labeled "Down Limit" or "Travel Down." Consult your opener's manual for the exact location and adjustment procedure — most require a flathead screwdriver and small incremental turns. Make the adjustment in small steps, testing the door after each turn, until the door closes cleanly and sits flush with the floor without reversing.
Step 3 — Check the Down Force Setting
Related to the travel limit is the force setting — how hard the opener pushes the door in each direction before giving up and reversing.
If the down force is set too low, the opener interprets normal resistance from the weatherstripping or a slightly sticky track as an obstruction and reverses before the door fully closes. This is more common in cold weather when the bottom seal stiffens and creates more resistance against the concrete.
The down force adjustment is also on the motor unit, usually labeled "Down Force" or "Close Force." Like the travel limit, adjust it in small increments and test after each adjustment. Be careful not to set it too high — the down force needs to stay sensitive enough that the auto-reverse safety feature still works correctly. After any force adjustment, retest the auto-reverse by placing a 2x4 on the ground and confirming the door reverses when it contacts the board.
Step 4 — Check the Remote and Wall Button
If the door closes normally using one control but not another, the problem is the control itself rather than the door or opener.
A remote that triggers the door to open but not close — or that causes the door to stop mid-travel — may have a stuck button, a weak battery, or interference from another device. Try replacing the battery first. If the problem persists with a fresh battery, test whether the wall button closes the door normally. If the wall button works fine, the remote likely needs to be reprogrammed or replaced.
If neither the remote nor the wall button will close the door, the issue is in the opener itself or the door's mechanical system.
Step 5 — Look at the Door Itself
Sometimes a door that won't close has nothing to do with the opener or sensors — the door itself is the problem.
A door that's off track, has a broken cable, or has a roller that's jumped out of the track will bind and stop before closing fully. The opener detects the resistance and reverses. Run your eyes along both tracks and look for anything obviously wrong — a roller sitting outside the track, a cable hanging loose, a section of track that looks bent or out of position.
If you see any of these, stop using the door immediately. A door with a mechanical issue in the cable or spring system is unsafe to operate and needs a technician before it's used again.
When to Call a Pro
The fixes above cover the most common causes of a door that won't close and are things most homeowners can handle without any special tools. If you've worked through all of them and the door still won't close, or if you've spotted a mechanical issue with the cables, springs, or tracks, that's when it's time to call someone.
A door that won't close is a security issue — leaving it until you can get around to it isn't an option the way some repairs are. If you're in Central Michigan and can't get your door closed, Isabella Garage Door offers same-day service when available. Call or text anytime at 989-572-0303.
Raising Performance. Elevating Standards.
You May Also Like
Boosting Your Home's Value: How a Garage Door Replacement Offers the Best ROI
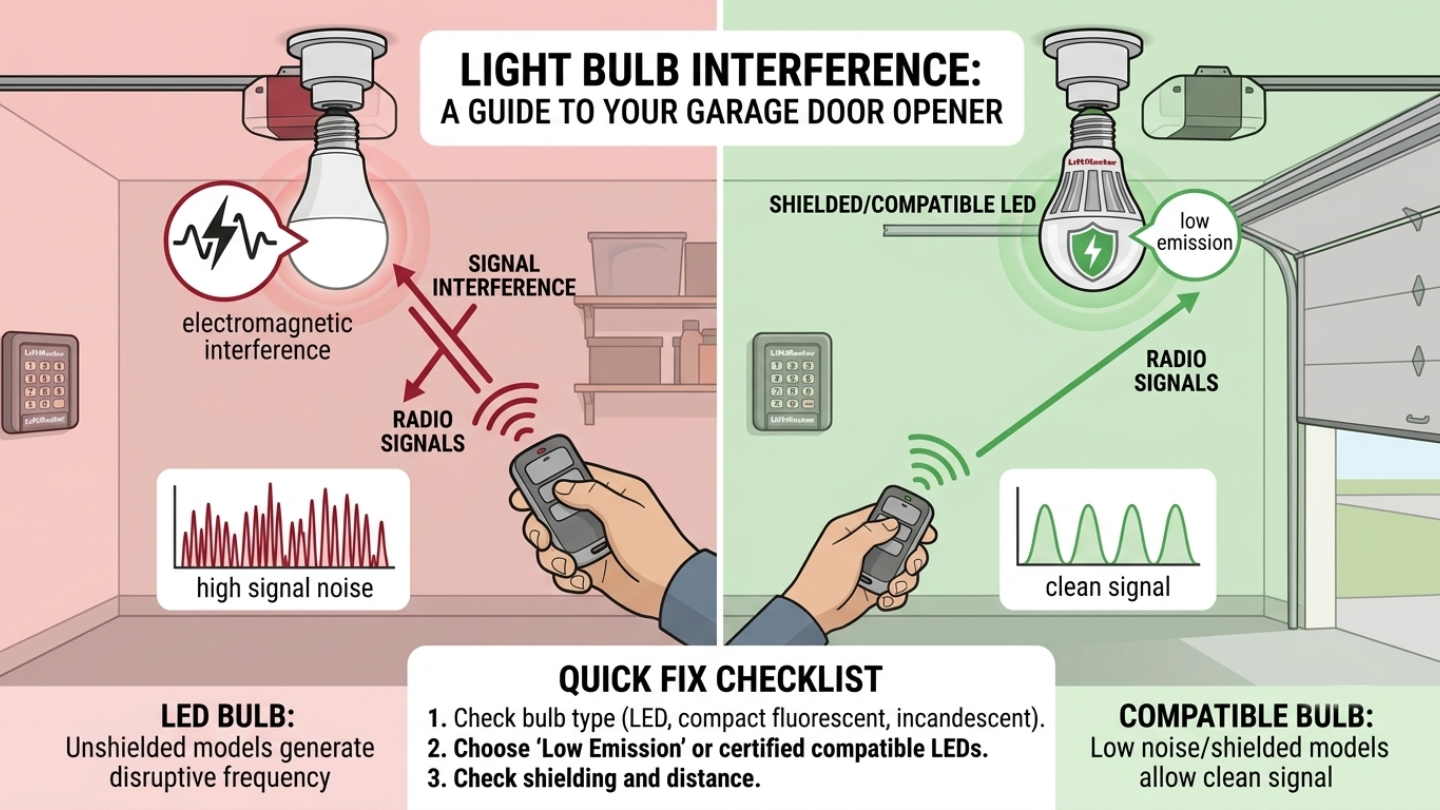
Why A Light Bulb Might Be Interfering With Your Garage Door Opener
If your garage door remote works up close but loses range or responds inconsistently, the opener's light bulb—not the remote or motor—is often causing radio interference.
Garage Door Openers 101: What Every Homeowner Should Know
What homeowners should know about their garage door opener