
A garage door that won't close is one of the more frustrating problems a homeowner can run into. The good news is that several of the most common causes are things you can diagnose and fix yourself in a few minutes.
2026-06-27
How to Lubricate Your Garage Door (Step-by-Step)
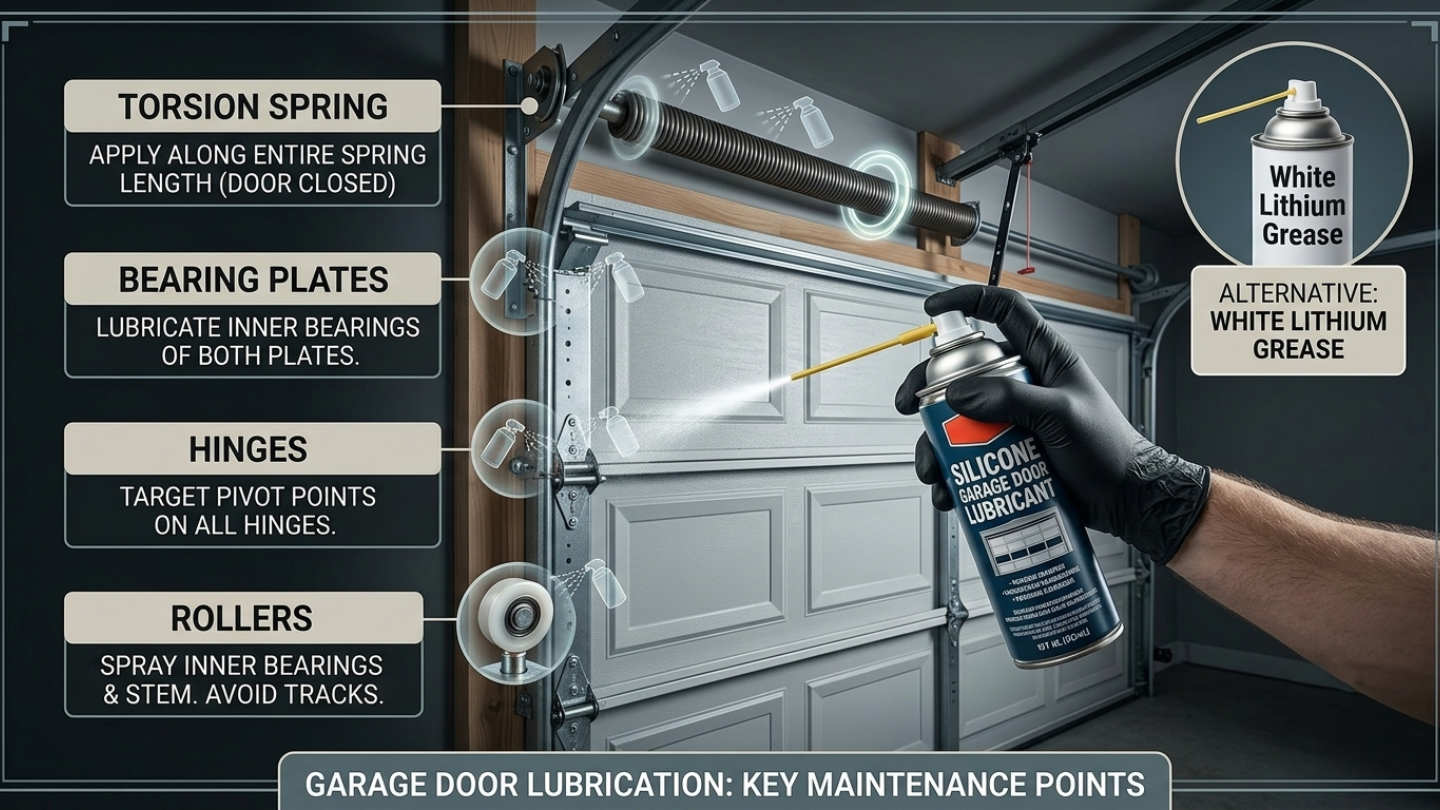
Lubricating your garage door is one of the easiest maintenance tasks you can do as a homeowner — it takes about 15 minutes, costs less than $10, and can add years to the life of your springs, rollers, and opener. If your door has been squeaking, grinding, or just running louder than it used to, there's a good chance this is all it needs.
This guide walks you through the entire process from start to finish.
What You'll Need
Before you start, grab the right products. If you haven't already, read our guide on silicone vs. white lithium grease vs. WD-40 to understand why product choice matters. For this job you'll want:
- White lithium grease spray — for springs, hinges, and bearing plates
- Silicone lubricant spray — for rollers and weatherstripping
- A dry rag or paper towels for wiping excess
- A stepladder if your spring system is high overhead
Both products are available at any hardware store. Expect to spend $8–12 total.
Step 1 — Close the Door and Disconnect the Opener
Start with the door in the fully closed position. This gives you easy access to the springs, rollers, and hinges, and keeps the door stable while you work.
Once the door is closed, pull the red emergency release cord hanging from the opener trolley to disconnect the door from the opener. This puts the door in manual mode so the opener doesn't activate unexpectedly while you're working near the moving parts.
Step 2 — Wipe Down the Components
Before applying any lubricant, do a quick wipe-down of the parts you're about to treat. Use a dry rag to remove dust, old grease buildup, and debris from the hinges, roller stems, and tracks. Skip wiping down the spring coils as you never want to place your hand on them while they are under tension.
If any parts have significant rust or grime, you can use WD-40 as a cleaner — spray it on, let it sit for a minute, then wipe it off thoroughly. WD-40 is not a lubricant, but it's excellent for loosening old buildup before you apply the real product. Make sure everything is dry before moving on.
Step 3 — Lubricate the Torsion Spring
Look up at the horizontal shaft above the door. The large coiled spring mounted on that shaft is your torsion spring — and it's the most important component to lubricate.
Using your white lithium grease spray, apply a light, even coat along the full length of the spring coils. Hold the can about 6 inches away and work from one end to the other in a slow, steady pass. You don't need to drench it — a thin coat is all you need.
The grease will work its way between the coils as the spring moves. Run the door through one open and close cycle afterward to help distribute it evenly.
Safety note: Do not touch or attempt to adjust the spring itself. Torsion springs are under extreme tension and are dangerous to handle. Lubricating the outside of the coils is safe — anything beyond that is technician territory.
Step 4 — Lubricate the Hinges
Work your way down both sides of the door, spraying each hinge pivot point with white lithium grease. The pivot point is the small pin or bolt at the center of each hinge where the two hinge plates rotate against each other.
Apply a short burst directly at the pivot, then manually flex the door section back and forth slightly to work the lubricant into the joint. Wipe away any excess that drips down the door panels — lithium grease can leave a stain on painted surfaces if left to sit.
There are typically 10 to 14 hinges on a standard residential door. Work through each one systematically so you don't miss any.
Step 5 — Lubricate the Rollers
Switch to your silicone lubricant for this step. If your door has nylon rollers — which most modern residential doors do — silicone is the correct product. White lithium grease can degrade nylon over time.
Apply a short burst of silicone spray at the roller stem — the small shaft that connects the roller wheel to the hinge bracket. You're lubricating the stem where it rotates inside the bracket, not the wheel itself.
If your door has steel rollers, white lithium grease is appropriate here instead of silicone.
Work down both sides of the door, hitting each roller stem. Again, wipe away any excess.
Step 6 — Lubricate the Bearing Plates
At each end of the torsion spring shaft, you'll see a circular metal plate with a hole in the center — these are the bearing plates, and they support the shaft as it rotates during operation.
Apply a short burst of white lithium grease to each bearing plate where the shaft passes through. This reduces friction and wear on the shaft during every cycle.
Step 7 — Lubricate the Opener's Drive System
If your opener uses a chain drive or screw drive, it needs periodic lubrication as well.
Chain drive: Apply white lithium grease along the full length of the chain, similar to how you'd lubricate a bicycle chain. A thin, even coat is sufficient.
Screw drive: Apply white lithium grease along the full length of the threaded rod.
Belt drive: Skip this step entirely. Belt drive openers are designed to run dry — lubricating the belt will actually cause it to slip and wear faster.
Step 8 — Treat the Weatherstripping
Using your silicone lubricant, apply a light coat to the rubber weatherstripping along the sides and top of the door frame. Silicone keeps rubber flexible and resistant to cracking, which is especially important through Michigan winters when cold temperatures make rubber brittle.
You may apply silicone lubricant to the bottom seal — it can prevent the the seal from freezing to the floor during winter.
Step 9 — Reconnect the Opener and Test the Door
Once you've worked through all the components, reconnect the opener by pulling the emergency release cord back toward the motor until you hear it click into place. You may need to lift the door slightly in order to reconnect the trolley.
Run the door through three or four full open and close cycles. Listen for any noise that remains — a squeak or grinding that was loud before may be significantly reduced or gone entirely. The lubricant needs a few cycles to fully distribute into the joints.
Wipe down any excess product that has dripped onto the door panels or floor before it attracts dust.
How Often to Do This
For a typical residential garage door in Central Michigan, lubricating the door twice a year is the right cadence — once in the spring after winter, and once in the fall before temperatures drop. If your door runs daily or you notice noise returning sooner, quarterly lubrication is reasonable.
Mark it on your calendar alongside your smoke detector battery check. It's that kind of quick, easy task that makes a real difference when you stay consistent with it.
Raising Performance. Elevating Standards.
You May Also Like
Garage Door Won't Close? Here's How to Figure Out Why
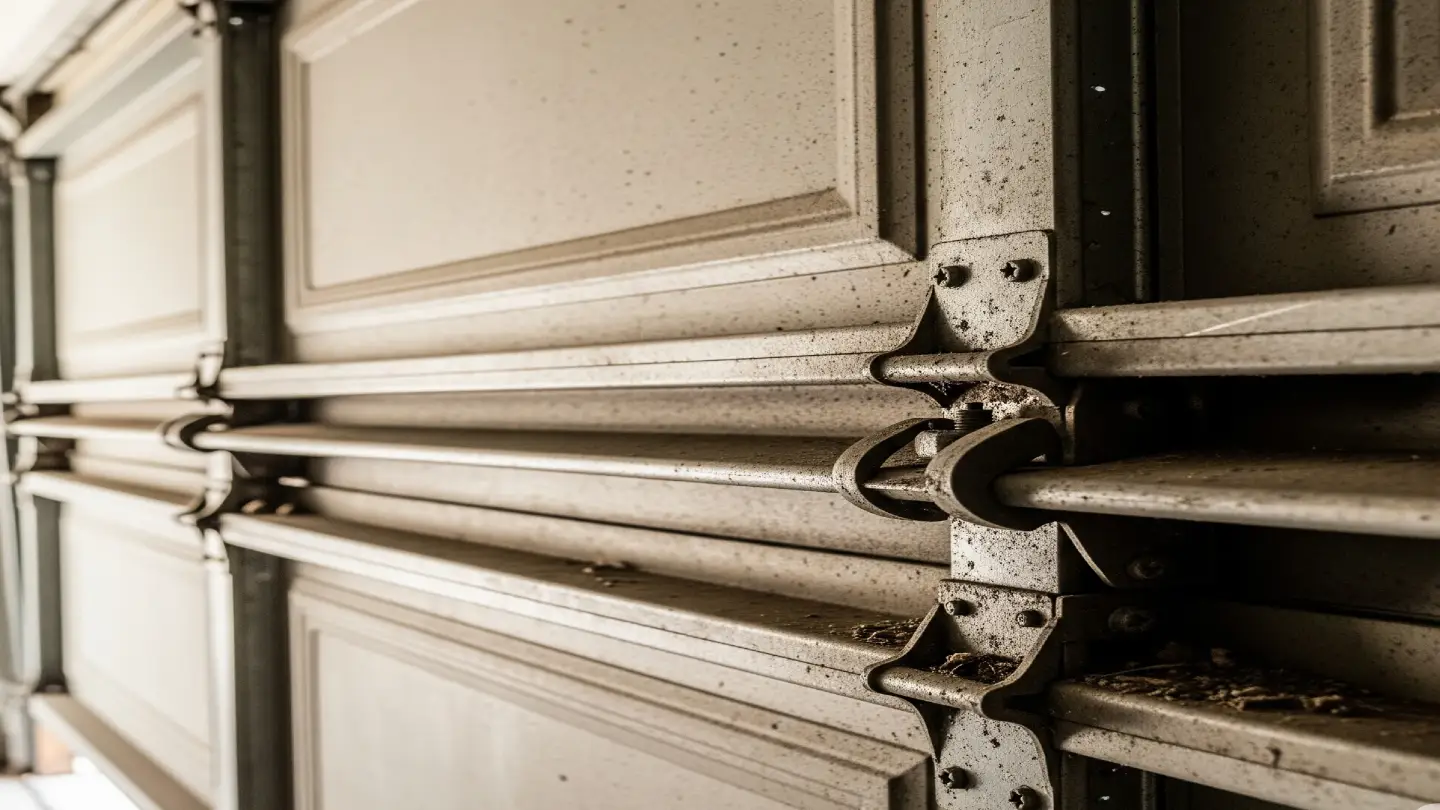
The Strange Noises Your Garage Door Makes
Common noises your garage door makes and what they mean
Is Your Garage Door Stuck? Here's What to Check Before Calling for Help
If you're standing in your driveway on a cold central Michigan morning and your garage door refuses to budge, you're not alone. Garage door issues are one of the most common problems homeowners face