It's Memorial Day weekend and the last thing you want is a garage door that decides to quit on you — or worse, one that creates a hazard when you've got guests and kids around. A few minutes of prep before the long weekend can save you a lot of headache.
2026-07-26
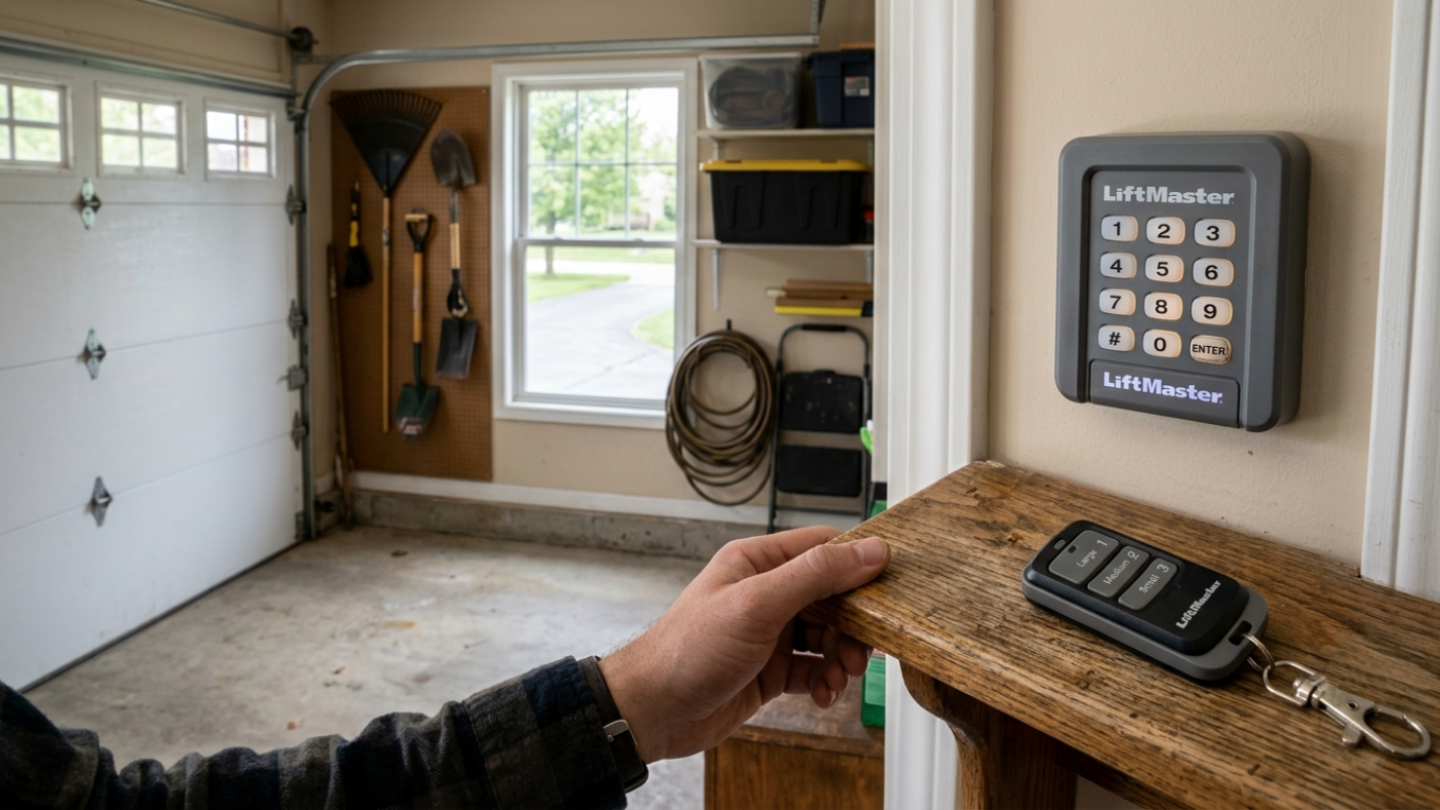
How to Program a Garage Door Remote or Keypad
A garage door remote that stopped working, a new keypad that needs to be set up, or a remote that needs to be added to an existing opener — these are all things most homeowners can handle themselves in a few minutes without any tools.
Programming a garage door remote or keypad is one of the more straightforward tasks in home maintenance, but the process varies depending on your opener brand and model. This guide covers the most common openers found in residential homes and walks you through the process for each.
Before You Start — A Few Things to Check
Replace the battery first. If a remote has stopped working, a dead battery is the most common cause by far. Most garage door remotes use a CR2032 coin cell or a 9-volt battery. Swap it out before assuming the remote needs to be reprogrammed — you may save yourself several minutes of unnecessary troubleshooting.
Find the LEARN button on your opener. Almost every garage door opener made in the last 30 years has a LEARN button on the motor unit. This is the button you'll press to put the opener into programming mode. It's usually located on the back or side of the motor unit — the box mounted on the ceiling near the center of the garage. The button is typically small and round, and may be yellow, green, orange, purple, or red depending on the brand and model. There's usually a small LED light next to it.
Know your opener brand. The programming process is similar across brands but not identical. The most common residential openers are LiftMaster, Chamberlain, Craftsman, Genie, and Linear. LiftMaster and Chamberlain use the same process since they're made by the same company. Craftsman openers made after 1997 also typically follow the LiftMaster process.
How to Program a Remote
LiftMaster, Chamberlain, and Craftsman (1997 and newer)
-
Locate the LEARN button on the motor unit. The color of the button tells you which radio frequency your opener uses — yellow or orange indicates 390 MHz, purple indicates 315 MHz, and red or green indicates 390 MHz with a different protocol. You don't need to know the frequency to program the remote, but it confirms your remote is compatible.
-
Press and release the LEARN button. The indicator light next to it will turn on and stay on for about 30 seconds. This is your programming window.
-
Within those 30 seconds, press and hold the button on your remote that you want to use to operate the door. Hold it until the opener's light bulb flashes or you hear two clicks from the motor unit — whichever applies to your model. This confirms the remote has been learned.
-
Test the remote by pressing the button. The door should activate. If it doesn't, repeat the process — sometimes the timing needs to be tighter between pressing LEARN and pressing the remote button.
Genie Openers
Genie openers use a slightly different process called Intellicode.
-
Press and hold the LEARN button (sometimes labeled PROG on Genie units) until the indicator light turns on — this takes about 3 seconds.
-
Release the button.
-
Press and release the LEARN button a second time quickly.
-
Within 30 seconds, press the remote button three times in a row. The opener light will flash to confirm programming was successful.
-
Test the remote.
Linear and Other Brands
Linear openers and several other less common brands use a similar LEARN button process to LiftMaster. Press and release LEARN, then press the remote button once and hold it until the opener confirms. Refer to your opener's manual if the standard process doesn't work — the manual is usually available as a PDF on the manufacturer's website if you've lost the original.
How to Program a Wireless Keypad
A wireless keypad mounted outside your garage lets you enter a PIN to open the door without a remote. Programming one follows a similar process to a remote.
LiftMaster, Chamberlain, and Craftsman Keypads
-
Decide on a 4-digit PIN you want to use.
-
Press and release the LEARN button on the motor unit. The indicator light turns on.
-
Within 30 seconds, go to the keypad and enter your chosen 4-digit PIN, then press and hold the ENTER button (sometimes labeled SEND or with an arrow symbol) until the opener's light flashes or you hear two clicks.
-
Test the keypad by entering your PIN and pressing ENTER. The door should activate.
Genie Keypads
-
On the keypad, press and hold the # and 8 buttons simultaneously until the indicator light on the keypad turns on.
-
Enter your chosen PIN and press the # button.
-
Press and hold the LEARN button on the motor unit until the light turns on, then release.
-
Return to the keypad and press # again. The opener should confirm with a light flash.
-
Test the keypad.
How to Erase All Programmed Remotes and Keypads
If you've moved into a new home and want to clear any previously programmed remotes — or if you've lost a remote and want to make sure it can no longer access your garage — you can erase all programmed devices at once.
On most openers, press and hold the LEARN button for about 6 to 10 seconds until the indicator light turns off. This wipes all programmed remotes and keypads from the opener's memory. You'll need to reprogram any remotes or keypads you want to keep using after doing this.
This is worth doing any time you move into a previously owned home. You have no way of knowing how many remotes were programmed to the opener or who has them.
When Programming Doesn't Work
If you've followed the steps above and the remote or keypad still won't program, a few things are worth checking:
Compatibility. Not all remotes work with all openers. If you're using a universal remote, confirm it lists your opener brand and model as compatible. If you're using a remote from a different door or a spare from another property, it may use a different frequency or protocol.
Rolling code vs. fixed code. Openers made before the mid-1990s used fixed code systems — a small bank of DIP switches inside the remote and on the opener that had to match. If your opener is older and doesn't have a LEARN button, this is likely your system. Matching the DIP switch positions between the remote and the opener is how programming works on these older units.
Opener age. If your opener is 15 or more years old and is having trouble learning new remotes consistently, the receiver board inside the motor unit may be failing. At that point the conversation shifts from programming to whether the opener itself is due for replacement.
Programming a remote or keypad is one of those tasks that feels more complicated than it is. Most homeowners get it done on the first or second try. If you've worked through this guide and are still having trouble, the issue is usually compatibility or an aging opener rather than anything you're doing wrong.
Isabella Garage Door serves homeowners throughout Isabella, Gratiot, Clare, and Mecosta counties. Call or text anytime at 989-572-0303.
Raising Performance. Elevating Standards.
You May Also Like

Is Your Garage Door Ready for Memorial Day Weekend?
Why Is My Garage Door So Noisy?
A little bit of noise from a garage door is normal and expected, but when your garage door goes from a quiet hum to a grinding, banging, squealing, or rattling operation — that's your door telling you something.
Garage Door Won't Close? Here's How to Figure Out Why
A garage door that won't close is one of the more frustrating problems a homeowner can run into. The good news is that several of the most common causes are things you can diagnose and fix yourself in a few minutes.